Create an elastic IP address for your ec2 server (optional)
By setting up an elastic IP address, you can have an IP address for your Amazon EC2 project that will never change. You can even reassign that same IP address to a different EC2 instance if you like.
Note that by setting up an elastic IP address, the IP address of your EC2 instance will be changed. So if you had security settings that restricted the IP address from which you could serve your application from, then you will need to update those settings after you create an elastic IP.
Ok, go to your EC2 Dash board, and in the network and Security section, click on Elastic IPs.
Click on the Create a new Address button at the top. This will create a new elastic IP for you.
Copy and paste the IP address into a test editor, as we will be using the IP address later.
Now click on the Actions button, and in the dropdown menu that appears, click on Associate Address and you will get a popup that looks like this:
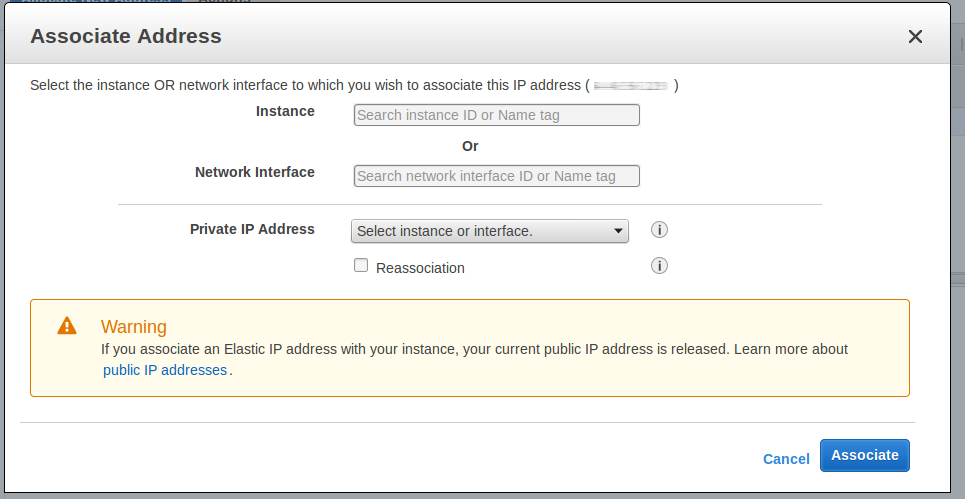
- Instance: select the EC2 instance you want to use. Then click Associate